Technique
Transthoracic Echocardiography: Acquisition Protocol
A window-by-window guide to acquiring a complete transthoracic echocardiogram, from positioning through the standard parasternal and apical views.
Written by [Author Name — replace before launch], RDCS — Clinical Echocardiography Educator
Medically reviewed by [Medical Reviewer Name — replace before launch], MD, FASE — Cardiologist
Published . Last reviewed .
 Placeholder image
Indications
- Evaluation of suspected structural or valvular heart disease
- Assessment of left and right ventricular size and function
- Baseline or surveillance imaging in known cardiac disease
- Hemodynamic assessment in acute presentations (e.g., dyspnea, hypotension)
Equipment
- Phased-array transducer (typically 1–5 MHz for adults)
- Ultrasound system with 2D, color, pulsed-wave, and continuous-wave Doppler
- ECG leads for gated acquisition
- Ultrasound gel and positioning wedge/pillow
A complete transthoracic echocardiogram (TTE) is built from a systematic sequence of transducer positions, or “windows,” each of which visualizes the heart from a different angle. Working through the standard windows in order — rather than searching for one ideal image — is what ensures every chamber, valve, and great vessel segment is actually assessed.
Patient Preparation
Left lateral decubitus positioning, with the left arm raised, is the standard starting position: it brings the heart closer to the chest wall and opens the intercostal spaces for the parasternal and apical windows. The subcostal window is best acquired with the patient supine and knees bent to relax the abdominal wall. Suboptimal positioning is one of the most common — and most fixable — causes of a technically difficult study.
Working Through the Windows
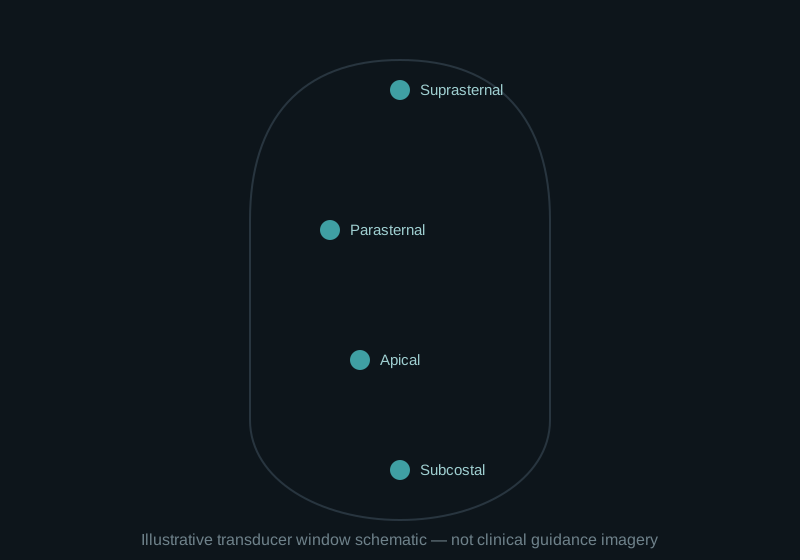
The protocol below moves through the four standard transducer positions in the order most labs use for a routine study. Each step lists the transducer position and what to prioritize while imaging.
Optimizing Image Quality
At every window, take a moment to optimize gain, depth, and sector width before recording a loop — endocardial border definition depends more on these settings than on transducer position alone. Harmonic imaging is the default setting in most labs for its improved signal-to-noise ratio, particularly useful in technically difficult body habitus.
Common Pitfalls
- Foreshortening the apical views by not centering the true LV apex, which leads to underestimated LV volumes and an overestimated ejection fraction.
- Skipping the suprasternal window in patients where aortic arch pathology is a relevant consideration.
- Recording too few cardiac cycles, which limits the ability to average measurements or review the loop later.
- Under-optimizing gain, producing either dropout (too little gain) or blooming that obscures thin structures like valve leaflets (too much gain).
Documentation
A complete study should include representative loops from every window above, with Doppler interrogation of each valve, and clear labeling of any technically limited views so the interpreting physician understands the confidence level of any measurement made from them.
Acquisition protocol
- 1
Position the patient
Position the patient in the left lateral decubitus position, left arm raised above the head, to bring the heart closer to the chest wall and open the intercostal spaces. Turn on the ECG and confirm a clean tracing before scanning.
- 2
Parasternal long-axis view
Place the transducer at the 3rd–4th left intercostal space near the sternum, marker toward the patient's right shoulder. Optimize to see the aortic and mitral valves, LV, and proximal aorta in the same plane; measure LV and aortic root dimensions here.
- 3
Parasternal short-axis views
Rotate the transducer roughly 90° clockwise from the long-axis position. Sweep from the aortic valve level, through the mitral valve level, down to the papillary muscle and apical levels.
- 4
Apical four-chamber view
Move to the point of maximal impulse (typically 5th intercostal space, midclavicular line) with the marker pointing toward the left. Center the interventricular septum to avoid foreshortening, and identify all four chambers and the mitral and tricuspid valves.
- 5
Apical two- and three-chamber views
From the four-chamber view, rotate the transducer roughly 60° increments to bring the apical two-chamber (LV and LA only) and apical three-chamber (LVOT, aortic valve, mitral valve) views into plane.
- 6
Subcostal views
With the patient supine and knees bent to relax the abdominal wall, angle the transducer from the subxiphoid region toward the left shoulder to obtain a subcostal four-chamber view, then rotate for the IVC long-axis view.
- 7
Suprasternal notch view
With the patient's neck extended, place the transducer in the suprasternal notch angled toward the aortic arch to assess the ascending aorta, arch, and proximal descending aorta.
- 8
Review and optimize
Review all acquired loops for adequate gain, depth, and sector width, and repeat any view with suboptimal endocardial definition before ending the study.
References
- 1. Mitchell C, Rahko PS, Blauwet LA, et al. Guidelines for Performing a Comprehensive Transthoracic Echocardiographic Examination in Adults. J Am Soc Echocardiogr. 2019;32(1):1-64.
- 2. Lang RM, Badano LP, Mor-Avi V, et al. Recommendations for Cardiac Chamber Quantification by Echocardiography in Adults. J Am Soc Echocardiogr. 2015;28(1):1-39.
- 3. Picard MH, Adams D, Bierig SM, et al. American Society of Echocardiography Recommendations for Quality Echocardiography Laboratory Operations. J Am Soc Echocardiogr. 2011;24(1):1-10.